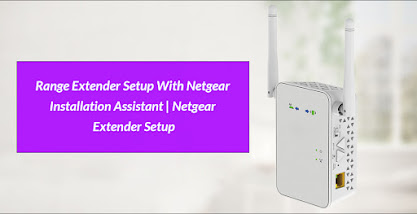
mywifiext.local new extender setup

Looking for the setup of a new extender? In this blog, you will learn the methods of mywifiext.local new extender setup . If we are talking about mywifiext.local , it is not a local IP address. This web address is used to connect the WiFi extender. With mywifiext.local user can access with Netgear WiFi extender. There are several methods to connect with the WiFi extender. You can type either www.mywifiext.net or www.mywifiext.local in the web browser. Generally, mywifiext.local is a website that allows you to perform the setup of Netgear WiFi extender. If you are a new user of Netgear WiFi extender, then you have to install the extender first. Here are some guidelines for the log in, installation and setup of the extender. Steps to login with mywifiext.local ? You need to follow the following steps to login with mywifiext.local : First of all, connect the device with the Netgear extender network. After that, you need to open the web browser and type mywifiext.