Complete 192.168.1.250 New Extender Setup In Easy Steps
Have you ever thought about buying a Netgear extender? You must have seen that there are different variants available for different types of users. You need to complete the 192.168.1.250 New Extender Setup in order to use it. Moreover, most of the Netgear extenders used to have a different IP address for the login and setup purposes. So, if your Netgear extender has the IP address of 192.168.1.250, then you will complete the setup with this IP address. Though, the steps used to remain quite the same for all the IP addresses. If you have any confusion, then this blog has explained the steps for 192.168.1.250 New Extender Setup. So, this blog is going to remove all your confusions regarding the setup procedure. So, let’s get started with the steps and complete the setup.

Easy Way To Complete 192.168.1.250 New Extender Setup
The easiest way to complete the setup of your extender is the web browser method using the IP address. So, if you know about the IP address of your extender, it is 192.168.1.250. Then, you should go with the following steps:

Step 2: Then, wait for the LED to light in the solid green color.
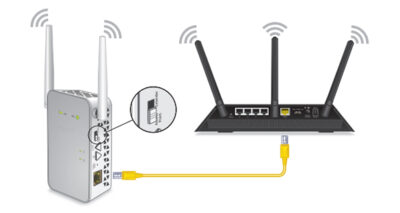
Step 3: Now, connect the system in which you want to complete the setup, to the Netgear extender’s network.
Step 4: Then, you will launch the web browser of your choice.
Step 5: Use the IP address 192.168.1.250 in the URL field.
Step 6: As you will be on the login screen, so use the default credentials to login as mentioned on your extender.
Step 7: Click on the Log In button.
Step 8: This will open the setup screen for your new Netgear extender.
Step 9: Select the name of your main network from the list that is appearing on the screen.
Step 10: Enter the password as well if the prompt asks.
Step 11: Click on the Continue button, and change the SSID for the extender’s network as required.
Step 12: Similarly, make other settings if required.
Step 13: In last, click on the Save button to apply all the settings that you have made.
Step 14: Connect your extender to the location where the signal used to get weak.
Step 15: Turn it on again, and connect your wireless device to the extender’s network.
With this, the new Netgear extender setup is complete for you. So, you can access the good strength of the network from anywhere in your building.
New Extender Can Be Used!
Wrapping up! This completes the setup of the new Netgear extender for you. You can say, this blog is a complete guide to complete the 192.168.1.250 New Extender Setup. In case you get stuck with any step, contact us for help. So, increase the coverage of your network with the help of the Netgear extender and access it everywhere!


Comments
Post a Comment